Welcome to 2020! I usually think about how I can better myself and this mental process begins late 2019. I want to be reasonable with my goals, in part because I need to not feel defeated if the goals aren’t met and honestly, I kind of need a win.
Categories are listed in my bullet journal:
Create:
Make one thing everyday
Take picture and post to Instagram
Blog weekly
Update website monthly
Save Money / Make Money
Buy less Starbucks
Meal prep
Take bus more often
Budget track
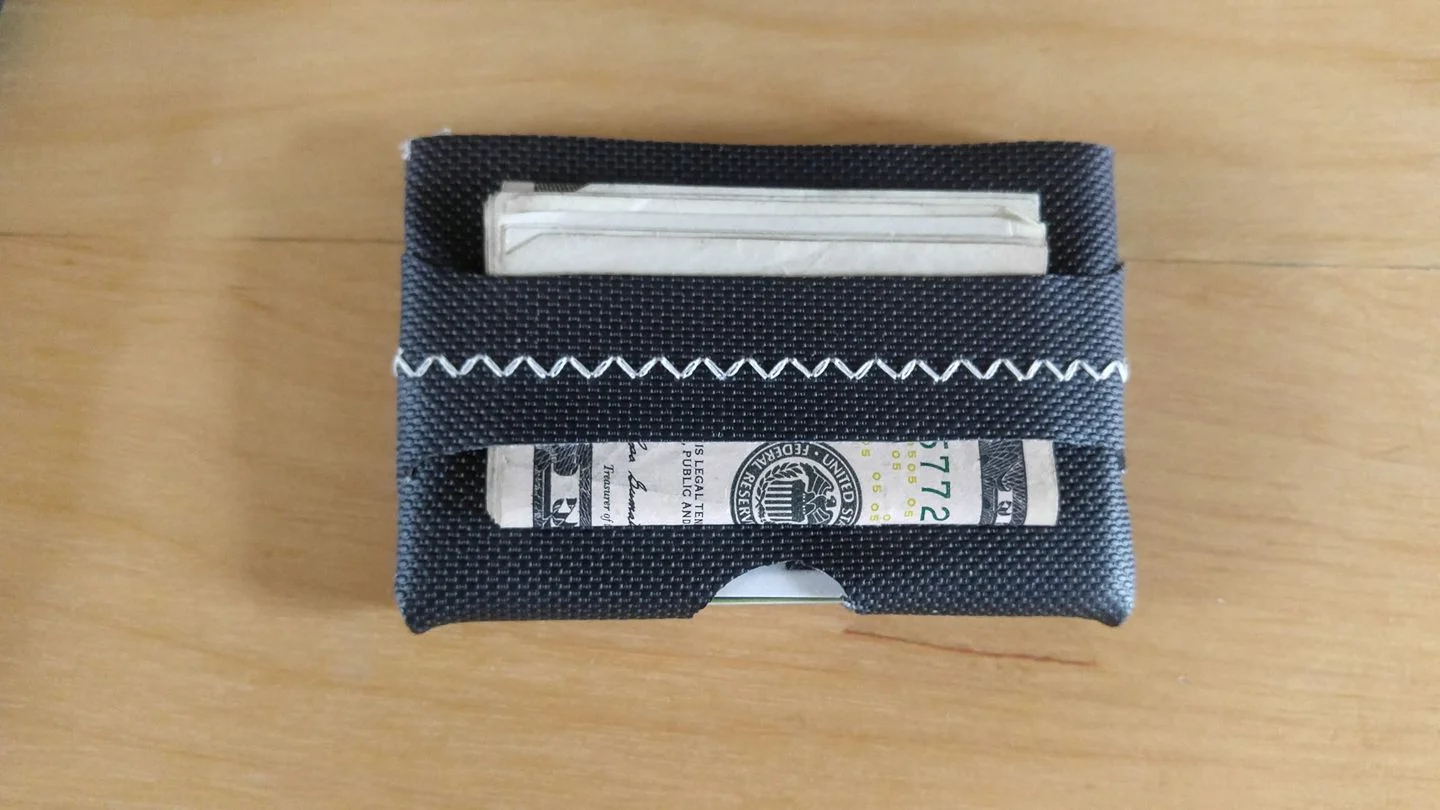
Cash diet
Sell more stuff/crafts
Grow savings
Pay down credit cards
Save $200/month
Self-Improvement
Meditate
Habit Tracker
Bullet Journaling
Exercise 20-45 minutes a day
Nap less
Think I can do it? Time will tell.
lb.